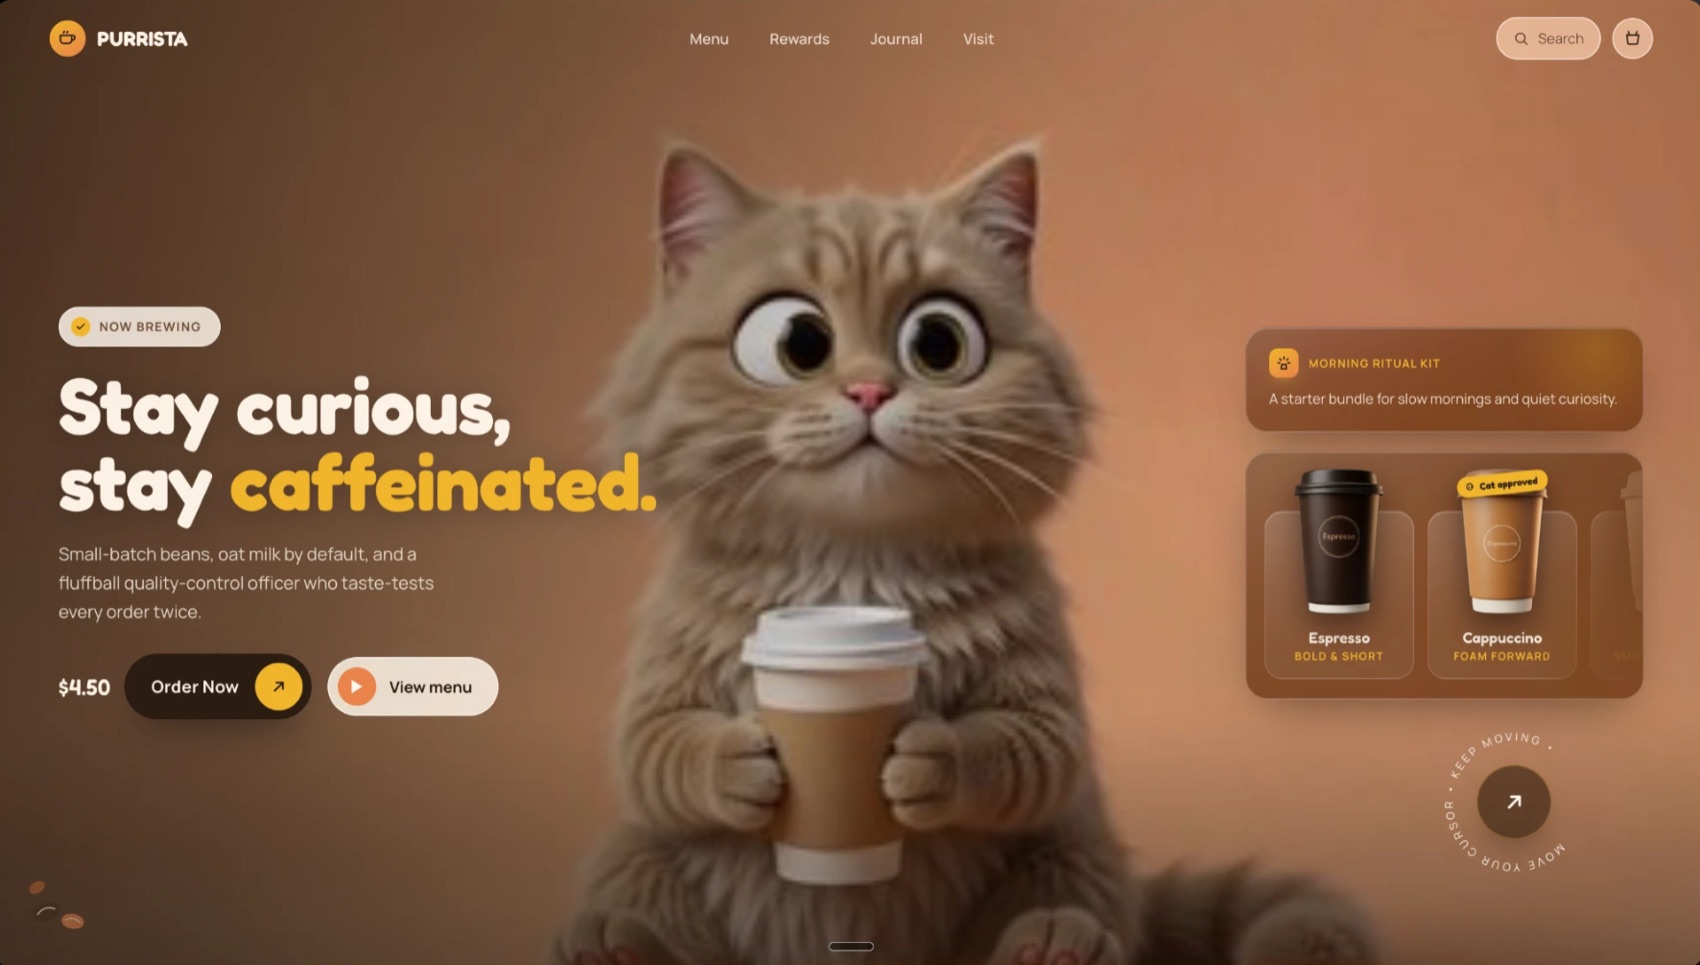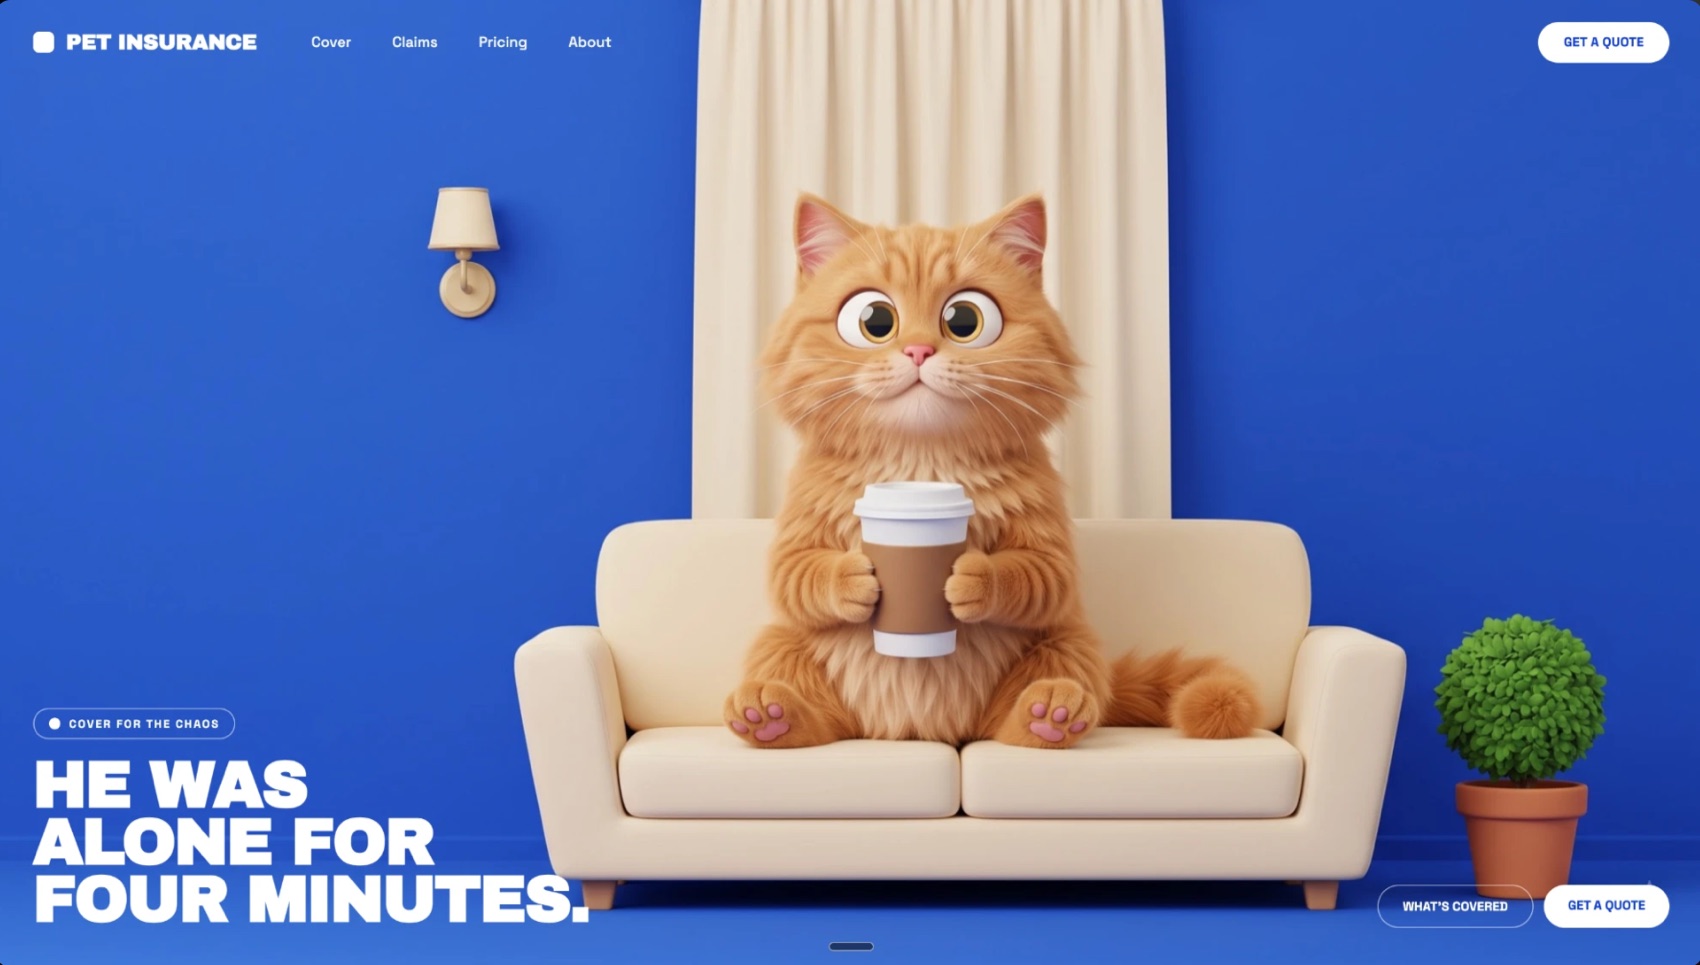
Step 1: Set the scene (Google Flow)
Upload your character reference image, then run:
A single 3D animated film still, Pixar / Illumination style. Not photography.

STYLE: stylized 3D character animation render. Matte surfaces, simplified chunky geometry with rounded edges. Soft even global illumination. No harsh shadows, no depth-of-field blur, no photographic grain. Every object — sofa, curtain, lamp, plant — modelled in the same cartoon 3D language as the character.

BACKGROUND: one flat wall in vivid saturated cobalt blue, edge to edge. Bold, poster-like colour. Completely plain — no texture, no gradient, no pattern.

COMPOSITION, 16:9 horizontal:
- A cream sofa dead centre, spanning the middle 40% of the frame width, its back 42% down from the top and its feet at 84% down
- The character sitting upright on the centre cushion, horizontally centred. Head starts 17% down from the top, paws reach 70% down — it fills just over half the frame height
- One cream curtain panel directly behind the sofa only, no wider than the sofa
- A small wall sconce mounted HIGH on the wall to the left
- One small round potted plant on the floor to the right of the sofa
- Nothing else. The lower-left quarter stays empty wall and bare floor

CHARACTER: sitting upright, front paws together, tail curled around the paws, looking straight into camera, wide innocent eyes, calm and still.

CAMERA: straight on, eye level, everything sharp edge to edge, no blur.
Swap the background colour and the props for whatever fits your brand. Keep the lower-left quarter empty — that is where your headline goes.
Step 2: Wreck it (Google Flow)
Upload the image from Step 1, then run:
Using the attached image, keep the CHARACTER and the CAMERA completely unchanged — identical pose, position, size, fur and face, same angle, same lighting, same render style. It has not moved a single pixel.

Keep every other object in EXACTLY the same position and size. Do not move, resize, redesign or replace anything. Do not add any new object. Only add damage:

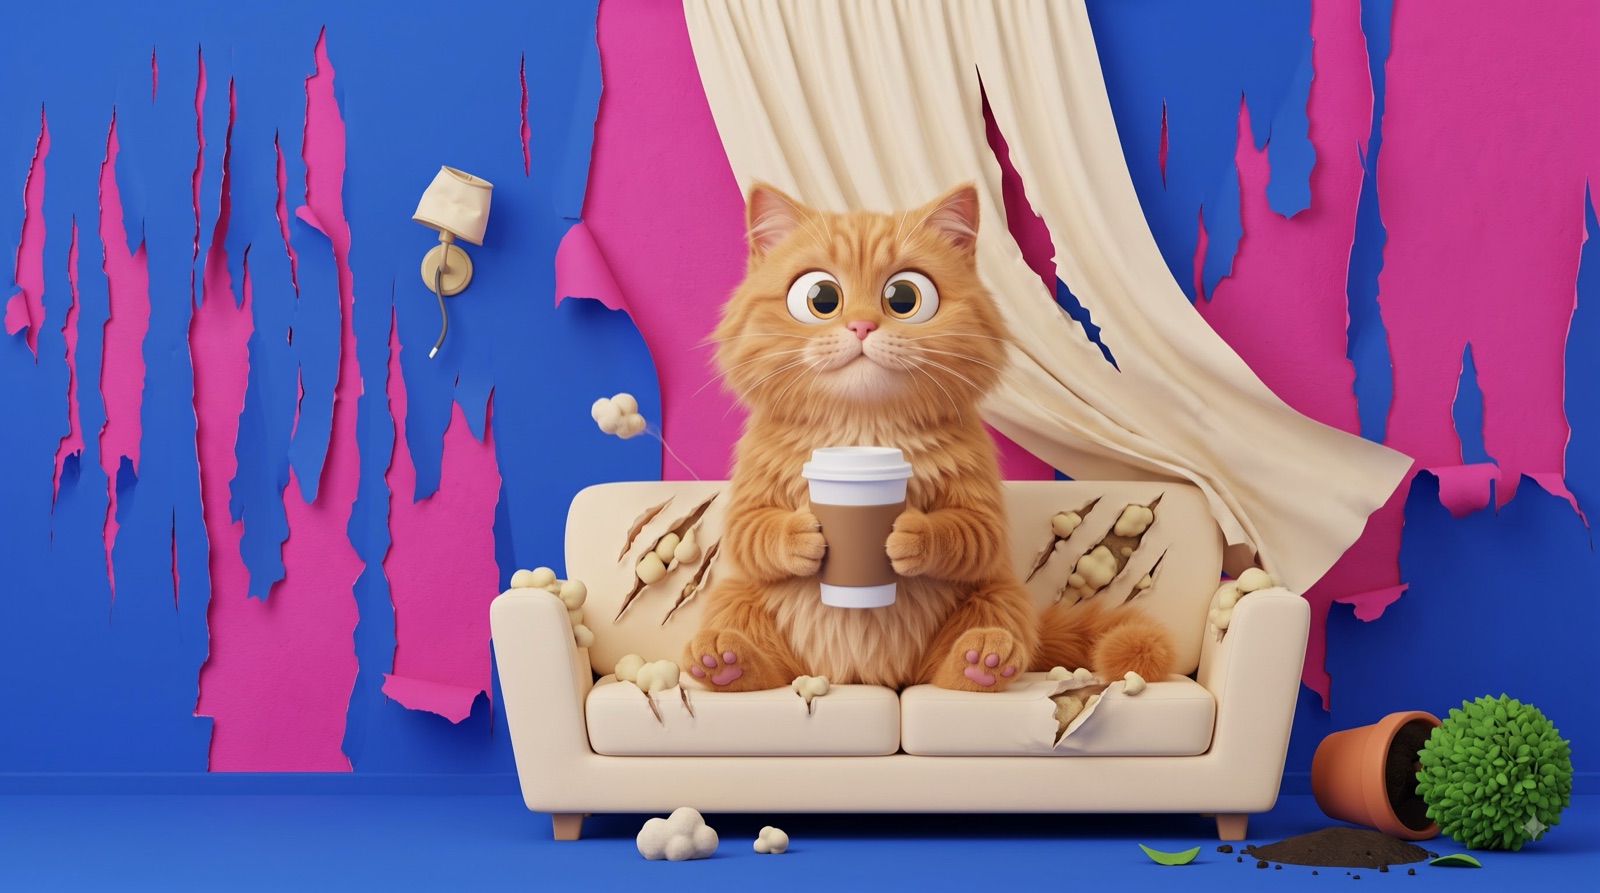
- WALL: the wallpaper has been clawed off in ragged vertical strips across the whole wall, peeling and curling away, exposing a clashing hot magenta pink underneath. At least 85% of the wall is now pink. Same flat poster-like colour, no texture
- SOFA: same sofa, same place — deep claw gashes across the seat and arms, chunky cartoon foam stuffing bursting out, one cushion split open
- CURTAIN: same curtain, same place — half torn down, hanging diagonally off its rail, a long rip through it
- WALL SCONCE: same lamp, same place — knocked crooked, hanging by its wire
- PLANT: same plant, same pot, same place — tipped over, soil spilled in a small arc, two leaves snapped off
- A few puffs of stuffing on the floor, one drifting mid-air

The floor also turns magenta pink. The lower-left quarter stays clear of debris.

16:9 horizontal, same stylized 3D animated render.
The two images must be identical except for the damage. Flick between them at 100% before you continue — if the character has shifted even slightly, run it again.
Step 3: Add the smirk (Google Flow)
Upload the image from Step 2, then run:
Using the attached image, change ONLY the character's facial expression. Everything else stays pixel-identical — the room, the damage, the lighting, and the character's body, pose, paws, tail and head position. Do not move or resize the head.

New expression — smug and guilty:
- Eyes narrowed to confident half-lidded slits instead of wide and round, same position and same size
- A closed-mouth smirk curling up higher on one side
- One small pointed fang poking out over the lower lip on the raised side
- One eyebrow raised slightly higher than the other

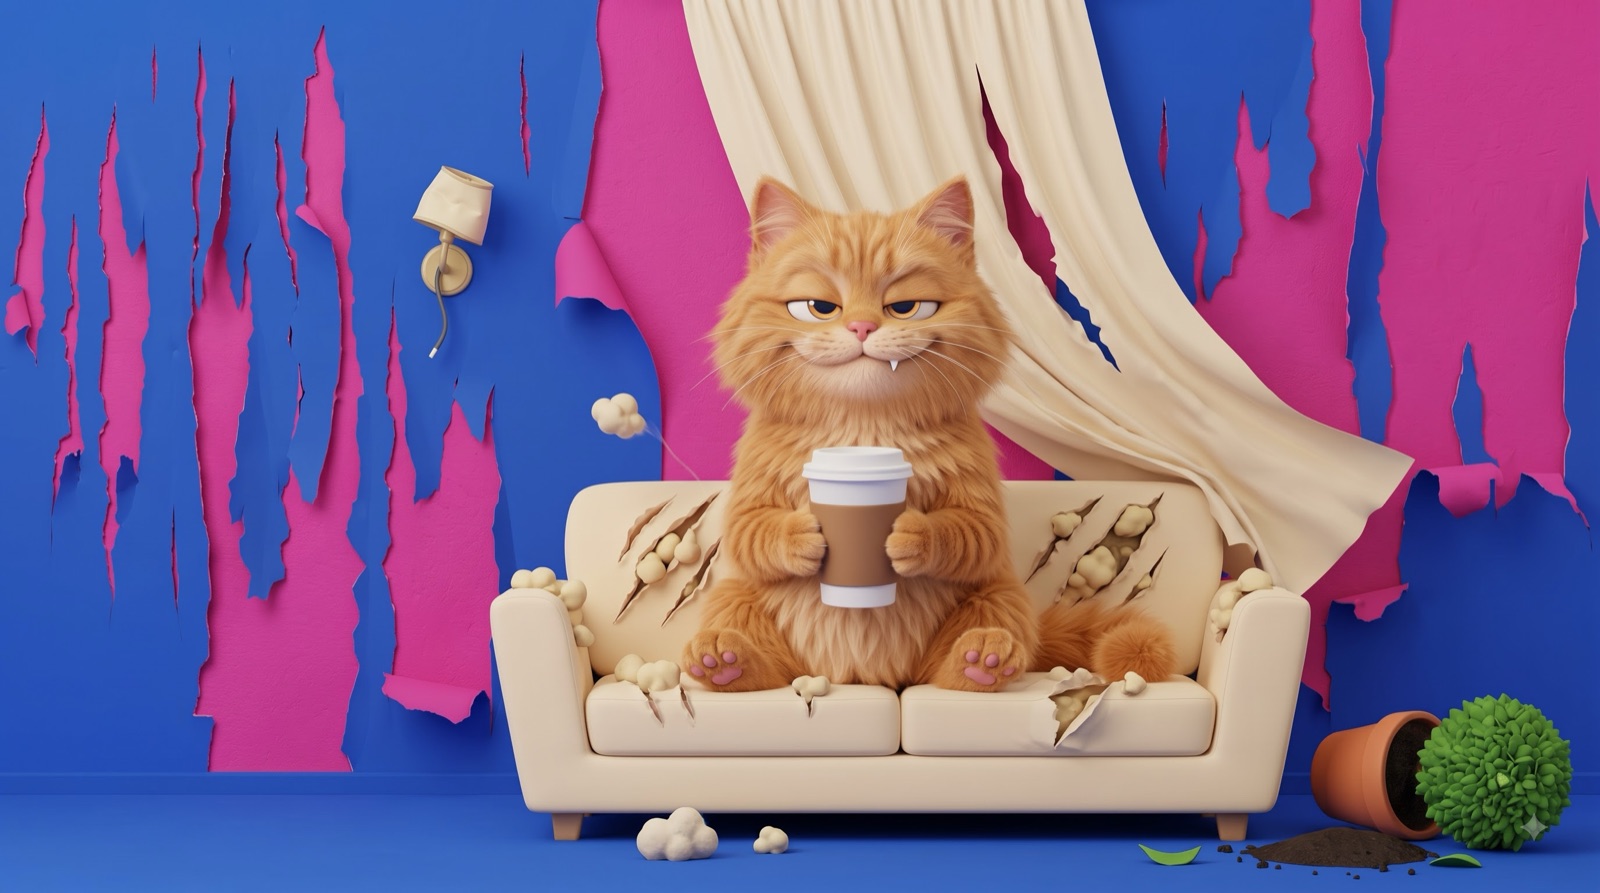
It looks pleased with itself and completely unrepentant. Same render style, 16:9.
This is the payoff. The innocent face stays in image 1 — the contrast is the joke.
Step 4: Build the site (Claude)
Upload both images on Claude, then run:
Build me a full-screen hero section as one self-contained HTML file, with a grunge-brush hover reveal effect using the two images attached.

TWO IMAGES, stacked: the clean one on top, the wrecked one underneath. Same size, same crop. Moving the cursor wipes holes in the top image and reveals the one below.

THE BRUSH — do not use a PNG:
- Draw the blob procedurally. Walk 360 degrees around a point; radius = base radius
  * (1 + 0.085*sin(3a + t) + 0.048*sin(5a - 1.15t) + 0.022*sin(9a + 0.6t))
- Join the samples with a closed Catmull-Rom spline emitted as beziers, NOT straight lines. Straight lines make it look like a jagged polygon
- Base radius = 19% of the smaller viewport dimension

THE TRAIL — it must SHRINK, not fade:
- Keep every stamp in an array with its birth time
- Every frame, clear the mask and redraw all stamps at FULL opacity, each at radius * (1 - age/2.7s)^0.85. Drop stamps older than 2.7s
- Do NOT fade the mask with destination-out alpha decay. Integer rounding traps the alpha around 10/255 and leaves a permanent 4% ghost of the lower image everywhere the cursor has been

THE CURSOR — it should glide, not snap:
- Keep a smoothed follower that chases the pointer each frame: k = 1 - (1 - 0.17)^(dt * 60);  sx += (tx - sx) * k
- Lay stamps along the FOLLOWER's path at fixed distance intervals (every 9% of a radius travelled), not once per frame, so fast moves leave a continuous trail
- Snap the follower to the pointer on pointerenter

WHEN THE CURSOR LEAVES: park one blob over an empty area and slowly morph it, so people know the hero is interactive before they touch it.

LAYOUT: full viewport, no page margin. Logo and nav top-left, pill button top-right. Eyebrow pill and a huge three-line all-caps headline bottom-left. Two pill buttons bottom-right. White text. Headline at 3.8% of viewport width, line-height 0.88, letter-spacing -0.03em.

Draw both images with object-fit: cover maths so nothing stretches. Do not put a blur filter on the mask canvas — it destroys the frame rate.
Three numbers to play with at the top of the file: EASE (lower = more float), SPACING (lower = smoother trail), LIFE (how long the trail takes to close).