Step 1 — Make your character in glass
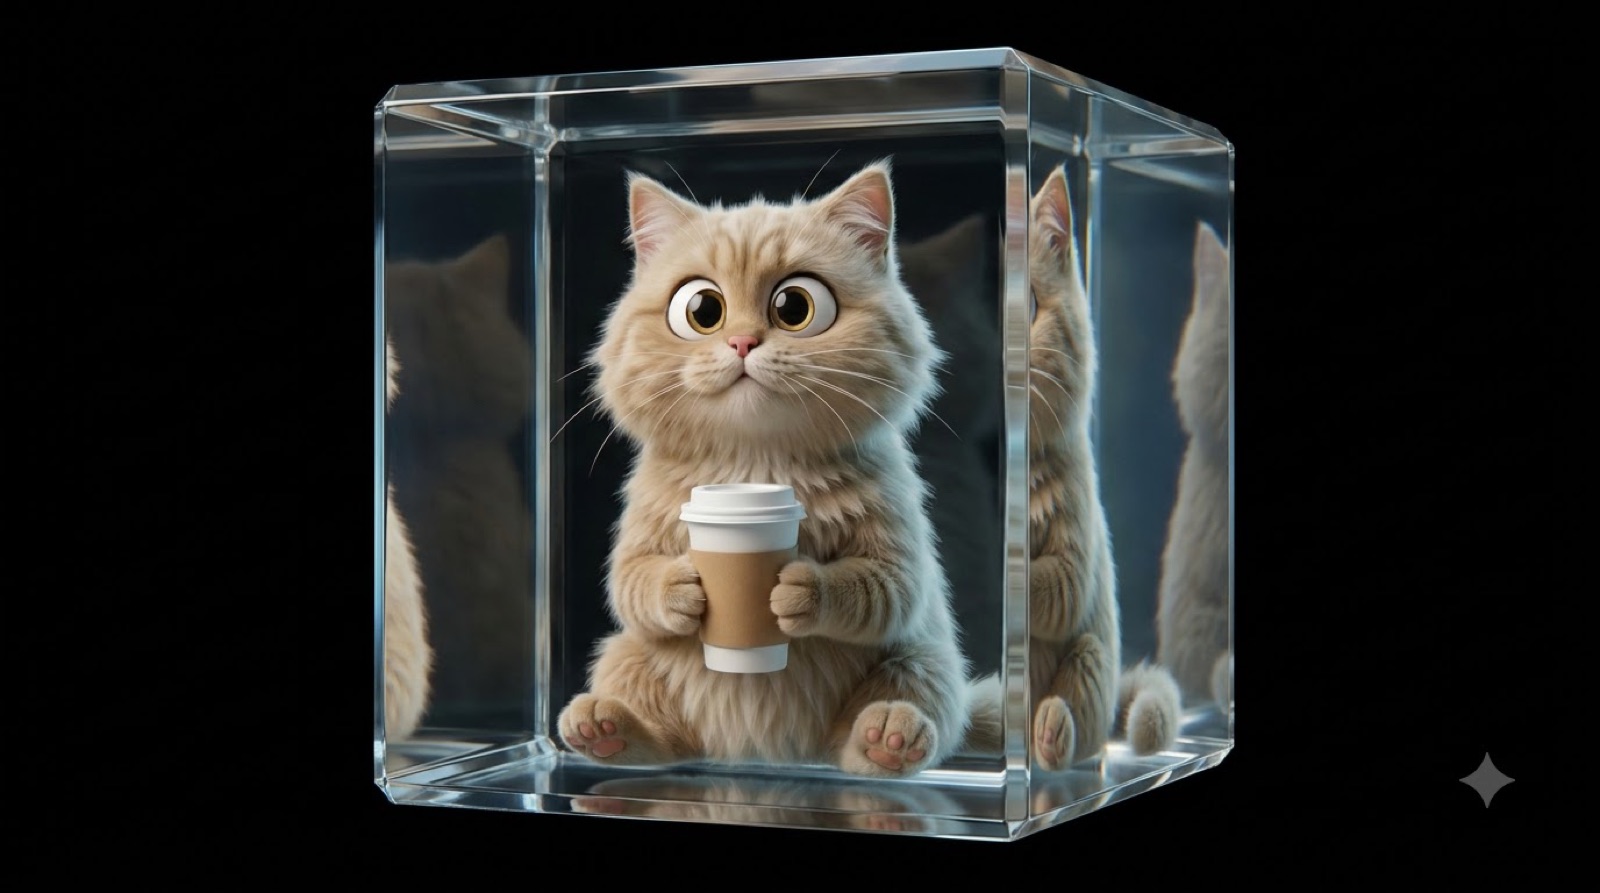
Generate this once. It becomes your hero image.
[YOUR CHARACTER], sealed inside a solid block of optically clear, colourless glass. The block is a perfect cube with sharp, precisely bevelled edges, rotated so one vertical corner faces the camera and two faces are visible at an angle.

The character sits centred inside the cube, fully contained within it, with clear space between the character and every face. It is seen through the glass with true refraction: its silhouette bends and doubles slightly where it meets the faces, with subtle caustics and internal reflections running along the bevels. Despite the refraction, the character stays clearly readable through the front face, with its face and details in sharp focus.

Studio product photography. Straight-on front view, camera at eye level, centred. Soft key light from the upper left, cool rim light down the right edge to define the cube's form.

Pure black background, RGB 0,0,0. No floor, no surface, no ground shadow, no reflection beneath the cube. The cube floats in complete darkness, lit only by the studio lights.

Square 1:1 composition. The cube fills approximately 70% of the frame height and is perfectly centred, with even margins on all four sides. Nothing is cropped.

Photorealistic 3D render, high detail, sharp focus, physically accurate glass.
Step 2 — Two turned poses
Run both of these with your hero image attached as the reference. They become the start and end frames of your video.
Right-facing:
Identical [YOUR CHARACTER] in the identical glass cube from the reference image. The glass cube is completely fixed: same position, same orientation, same corner toward the viewer, same size in frame. Only the character has rotated, turning about 70 degrees so its face points toward the RIGHT side of the frame. Same fur, same colour, same materials, same lighting, same refraction through the glass. Pure black background, no ground shadow. Square 1:1, centred, nothing cropped. Photorealistic 3D render.
Left-facing:
Identical [YOUR CHARACTER] in the identical glass cube from the reference image. The glass cube is completely fixed: same position, same orientation, same corner toward the viewer, same size in frame. Only the character has rotated, turning about 70 degrees so its face points toward the LEFT side of the frame. Same fur, same colour, same materials, same lighting, same refraction through the glass. Pure black background, no ground shadow. Square 1:1, centred, nothing cropped. Photorealistic 3D render.
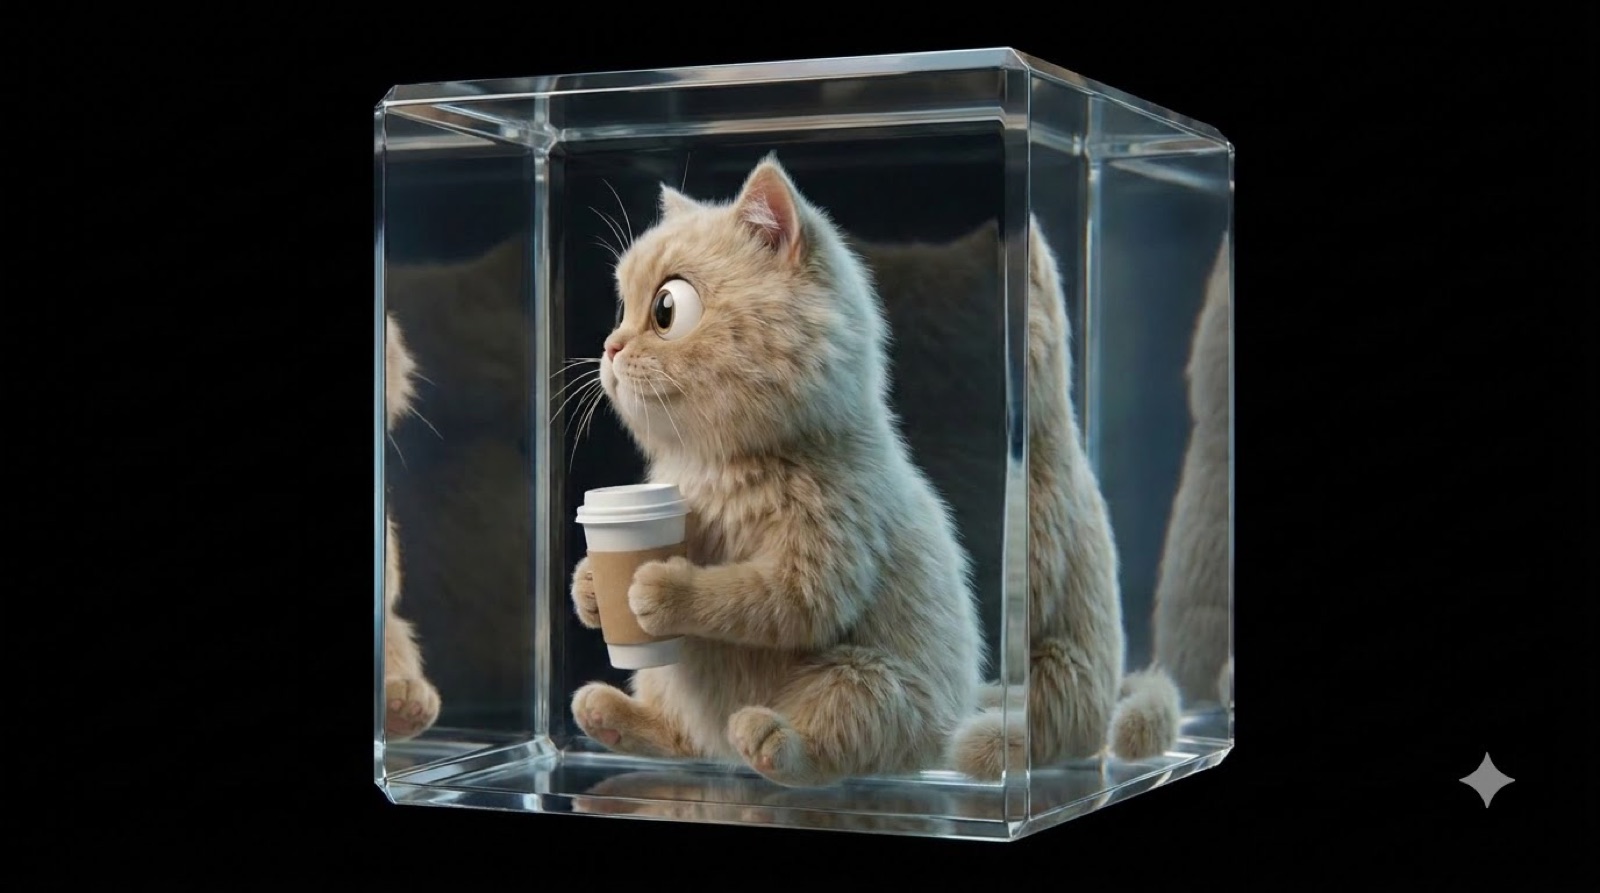
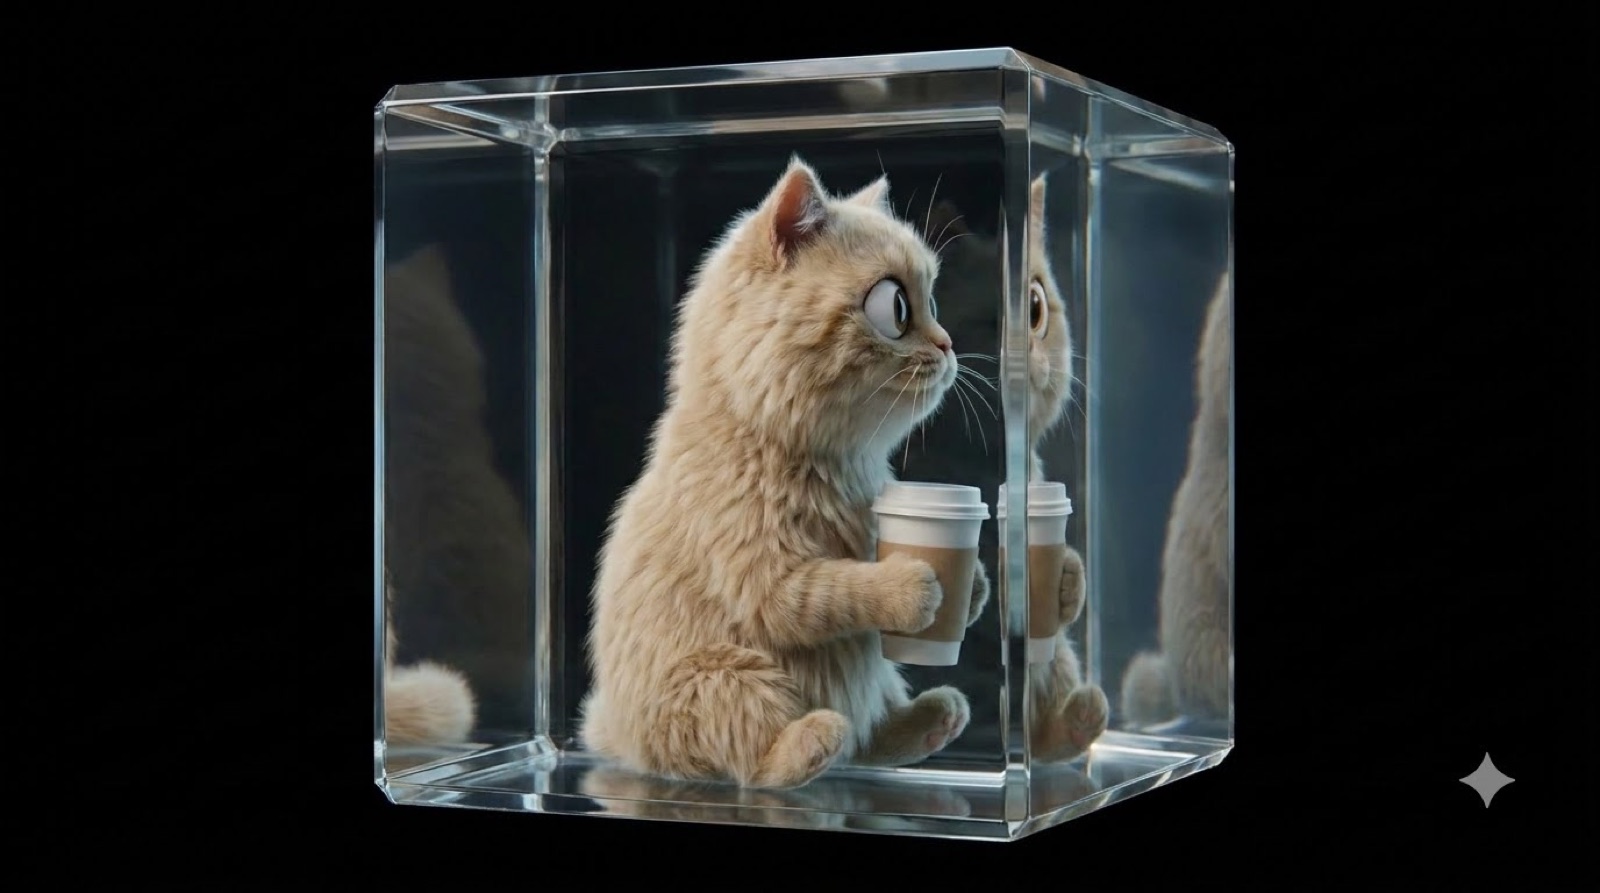
Start frame and end frame. These two images are what make the video work.
Step 3 — The video
Start frame: your right-facing image · End frame: your left-facing image · Duration: 4 seconds.
In that order the character turns clockwise (seen from above), passing through front-facing on the way. Swap the two images and it turns anticlockwise instead. The prompt below assumes clockwise, so flip "left" and "right" in it if you swap them.
The cat rotates in place, turning steadily so that its face swings toward the left side of the frame, travelling from the pose in the first frame to the pose in the last frame. Its right shoulder comes forward toward the camera while its left shoulder moves back behind the body.

About one quarter of the way through the shot the cat passes through a front-facing pose, looking directly at the camera with both eyes fully visible and the coffee cup held centred on its chest. It does not stop or pause there. It continues turning smoothly in the same direction until it reaches the final pose.

The head, neck, torso, front paws, the coffee cup and the tail all turn together as one rigid body at the same rate. The coffee cup stays gripped in both paws in exactly the same position relative to the chest for the entire shot and never slips, rotates in the paws, or changes size.

The glass cube is completely static. It does not rotate, tilt, drift, resize or change shape at any point. Its nearest vertical edge, its top bevel and all four faces stay in the identical position and orientation seen in both the first and last frame. Only the reflections and refractions inside the glass change, because the cat behind them is moving. The glass itself never moves.

One single continuous rotation in one direction at perfectly constant speed. It never pauses, never reverses, never wobbles back, never overshoots, and never speeds up or slows down. The camera is locked off: no orbit, no pan, no zoom, no push-in, no handheld shake. The cat's fur, colour, proportions, facial features and expression stay identical throughout. Pure black background, unchanged. One continuous shot, no cuts, no cross-fade, no dissolve, no morphing between frames.
| Clause | The failure it blocks |
|---|---|
| "passes through a front-facing pose about a quarter through" | Taking the long way round instead of the short path |
| "all turn together as one rigid body" | Head swivelling while the body stays put |
| "the cup never slips or rotates in the paws" | Held objects drifting or detaching mid-turn |
| "the glass cube is completely static" | Cube counter-rotating against the character |
| "never reverses, never overshoots" | Rotation running past the end pose and never returning |
| "no cross-fade, no dissolve, no morphing" | The model blending image A into image B instead of actually rotating |
Step 4 — Build it with Claude
You don't need to write any code. Two messages, in order. Do them separately: get the interaction working first, then design around it.
Message 1 — make the gesture control work
Attach your spin.mp4 and paste this:
I have attached a short video of a character rotating in place on a pure black background. Build me a single self-contained HTML file that lets me control it with my hand through my webcam. I don't code, so give me one complete file I can save and open.

The interaction: moving my hand left and right scrubs through the video, so the character turns to follow my hand. Pinching my thumb and index finger together zooms out, opening them zooms in. It should feel like I'm physically turning a real object.

Use MediaPipe Hand Landmarker loaded from a CDN. No build step, no npm, no backend, no API keys.

Layout:
• Pure black page. The character sits centred and large, sized off viewport height so it always has padding around it, and the zoom range can never push it off screen.
• Webcam preview in the bottom right corner, in landscape at 16:9, roughly 270px wide, rounded corners, thin light border, soft drop shadow. Draw the hand skeleton over it: thin off-white bones, small warm-toned dots at the joints. Mirror it so it reads like a mirror.
• Live readouts in the top left corner, styled like part of the design rather than a debug overlay. Two stats stacked: ROTATION with the current angle in degrees, centred on zero so front-facing reads 0 and it swings positive and negative from there; and ZOOM as a percentage. Each with a small uppercase label above in wide letter-spacing, a large light-weight numeral below, and a thin horizontal fill bar underneath showing where the value sits in its range. Below both, separated by a hairline: FPS and a short status word like Tracking or No hand.
• Use tabular figures on all numbers so they don't jitter as digits change. One warm accent colour for the fill bars and the skeleton dots, off-white for everything else.

These details decide whether it actually works:
• Smooth the raw hand position with a lerp before applying it. Without smoothing the object vibrates and the illusion collapses. Expose the smoothing amount as a constant I can tune.
• Add a sensitivity constant that amplifies my hand movement outward from the centre of frame, so I only need to move across part of the camera's width for a full rotation, not the whole width.
• Add a constant for how many degrees of rotation my clip covers end to end, used only for the readout, so I can correct the angle if my clip spans a different arc.
• Put mix-blend-mode: screen on the video so its black background drops out and the character floats.
• The webcam preview must be a direct child of <body> and must not sit inside any element with perspective set, because that breaks fixed positioning.
• The overlay canvas must use the same object-fit value as the webcam video. My camera outputs 4:3 and the preview box is 16:9, so the video gets cropped. If the canvas doesn't crop identically, the skeleton draws offset from my actual fingers and looks like laggy tracking.
• Auto-load a file called spin.mp4 from the same folder on page load, with a small file picker as a fallback so I can swap in other clips.
• Pressing H hides the webcam preview, the readouts and the file picker all at once, leaving only the character on black, so I can screen record cleanly.

Save it as index.html, put spin.mp4 next to it, and check the tracking works before moving on.
Message 2 — build the hero section around it
Once the interaction works, paste this in the same conversation:
Now turn this into a full-screen hero section for my website.

Do not change any of the hand tracking logic, the video scrubbing, or the smoothing constants. They work. Only add layout and styling around them.

Layout: black background. A headline and one short line of body copy on the left, the rotating character large on the right. A minimal nav across the top with my brand name on the left and a call-to-action button on the right.

Type: a serif display font for the headline, with the closing phrase set in italic of the same family as the emphasis. A clean sans for everything else. Sentence case, not all caps. Keep the headline restrained in size rather than huge.

Colour: near-monochrome. Off-white text, one accent colour used only on the call-to-action button and the italic phrase. Let the character supply the colour on the page.

Rules: everything fits in the viewport with no scrolling. The character never overlaps the text at any zoom level. Collapse to a single column below 900px. Generous padding on the left and right.

Use placeholder copy about my project and I'll replace it.
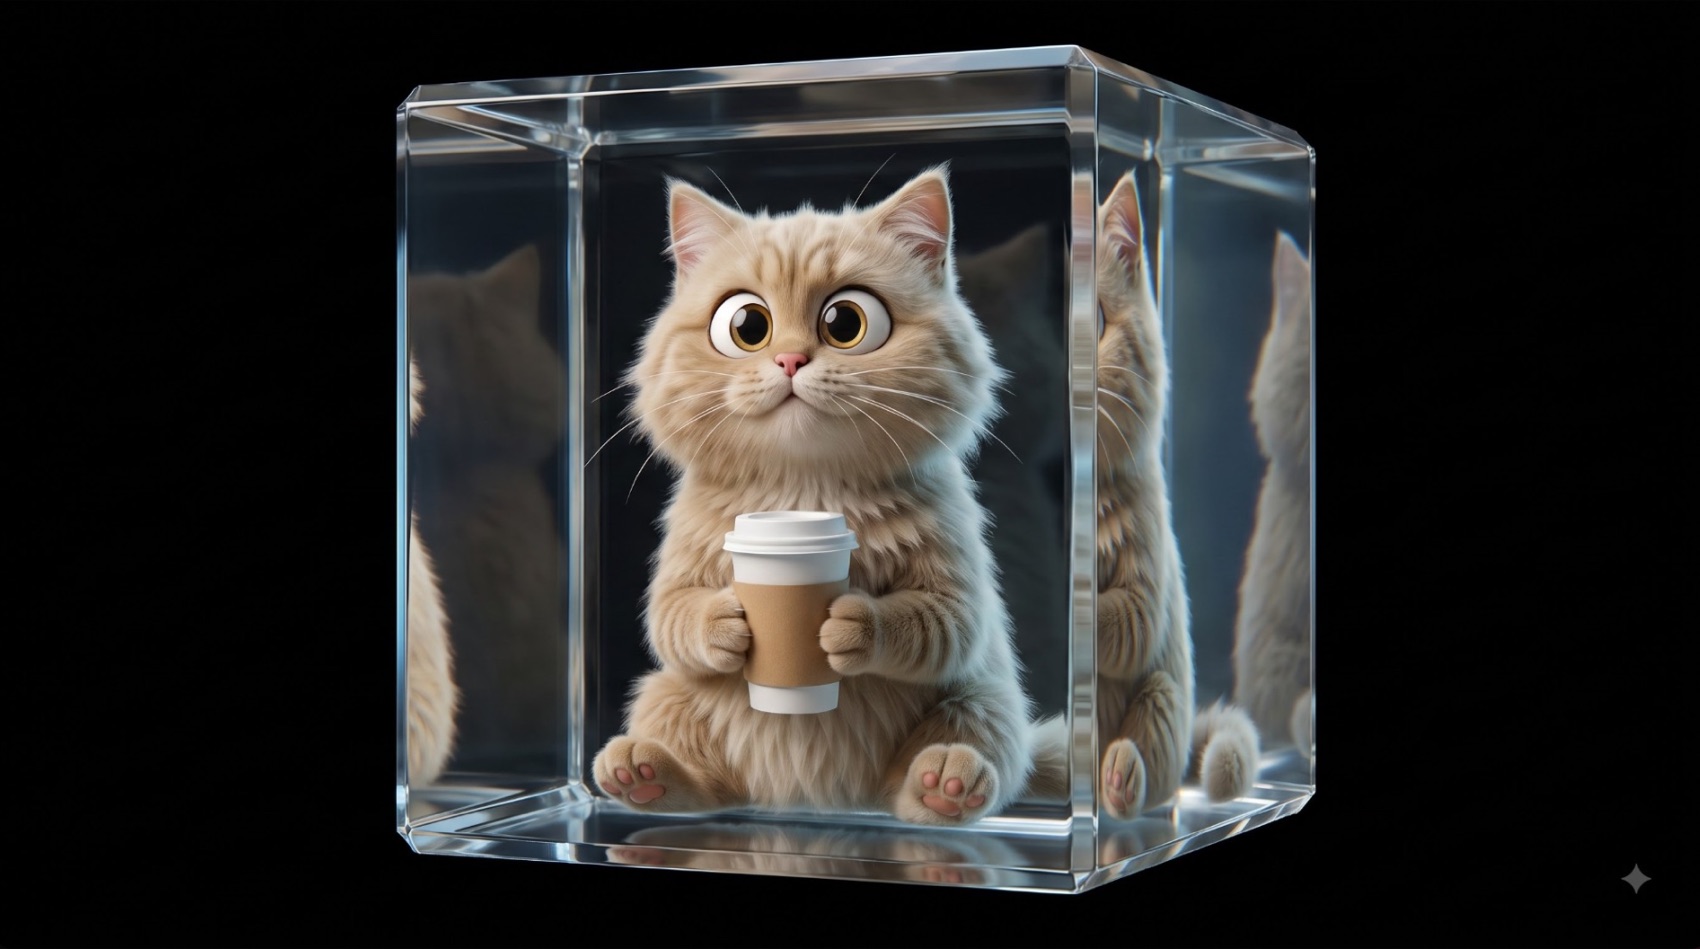
After message 2. Same code underneath.
Two bugs that will cost you an hour
Both are already covered in Message 1, but worth knowing if something goes wrong.
perspective creates a containing block for position: fixed. If your webcam preview sits inside an element with perspective set, it pins to that element instead of the viewport and lands in the wrong place entirely.
Your overlay canvas must match the camera's aspect ratio. If the preview box is portrait and the feed is 4:3 landscape, object-fit: cover crops the video while the canvas stretches undistorted. The landmarks then draw in un-cropped coordinates over cropped video and sit offset from your fingers. It looks like laggy tracking. It's pure geometry.
Three numbers to tune afterwards
Just ask Claude to adjust these if the feel is off.
| Constant | What it does |
|---|---|
| Sensitivity | How far your hand travels for a full turn. Higher means less reaching |
| Smoothing (ease) | Higher is snappier but shakier, lower is smoother but laggier |
| Zoom range | How far the pinch scales the object in and out |
Running it
One HTML file plus spin.mp4 in the same folder.
cd your-folder
python3 -m http.server 8000
Open http://localhost:8000 in Chrome and allow the camera. Hosting is free on GitHub Pages, Netlify or Vercel — it's a single static file, so there's nothing to deploy beyond dragging the folder in.
It works with anything
Swap the clip and you swap the object. The code never changes. A product, a logo, a sculpture, a person. Same file. Same code. Different clip.